|
WATCH THE PROCESS ON A 5 COLOR FLAME JOB
I started out with a fat bob tank that
had a rough center weld and a few dings.
A little filler, primer and 2 coats of black base
and a coat of high soilds clear, baked
and then sanded with 1000.
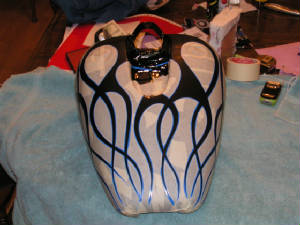
A little blue fine line and a bunch of
2 inch masking tape, here it is.
Into the booth, first the tank is sprayed all white,
then the base of DREAM TANGERINE is applied.
Next are several tints sprayed around to give life
to the flames. Also, I had to tint the crossovers
of the flames to give a 3D look to the it.
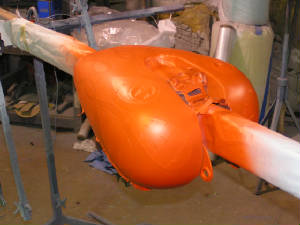
Here you see it untaped and uncleared. I must now colorsand with
2000 grit around the edges to give a little fade
and also to knock down the high points.
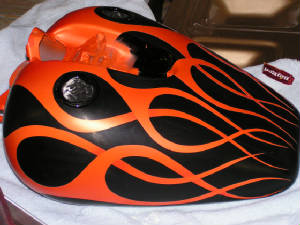
Next will be 3 coats of clear and a bake cycle.
Then it was blocked with 1000 grit and given 2 coats
of high soilds clear.
Finally, it is out of the booth, blocked with 2000 grit
and then 3000 grit and polished out.
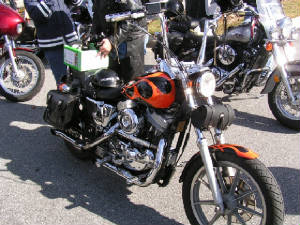
You will see the final pick here in few days after the
bike is put together.
|